Washington’s Wig Update

Washington’s Wig is back! We’ve revamped and expanded our classic canine platformer to make sure everyone gets their fair share of historical inaccuracy and adorable dogs! We’ve added over 20 new unlockable dogs, leaderboards, and achievements and we updated the sound design, visual effects, tutorials, HUD, and more! So if you like pixel dogs, go check it out for FREE on iOS in the App Store or Android via Google Play.

Washington's Wig

2D Mobile Game Performance in Unity Part 2

In Part 1 we talked about minimizing allocations and deallocations via upfront loading and object pooling. When allocations are needed, which they inevitably will be, we looked at using prefabs from the Resources folder to ensure that underlying assets can be selectively loaded and unloaded from memory.

Sprite Packing and Image Settings
In most cases, the biggest drain on memory both in a scene and when creating our final installation will be image assets. For starters (and this is obvious), we’ll keep our image assets small (tile and recycle whenever we have the chance), remove assets when possible (does our character run animation loop need 15 frames or can it be done in 8?), and crop them as tightly as possible (seriously, I’ve had artists hand me more assets with oceans of empty, transparent space than I can count). If we have Unity Pro, then we also have access to the Unity sprite packer (be aware that we can only use the sprite packer with Android or iOS if we also have Android and iOS Pro licenses). Sprite packing will bundle our individual image assets into one or more sprite atlases. This is critical for a mobile release because sprite packing allows image compression to be used on our imported image assets. In turn, this will greatly reduce the memory burden of our installed application and individual scenes.

To enable sprite packing, set a Packing Tag in the inspector for each texture asset. The Packing Tag will specify that the asset will be sprite packed into an atlas with the Packing Tag name. Also pay attention to the Max Size and Compression values in the inspector. We’ll typically want to change the compression setting from “True Color” to “Compressed” so that the final assets in the sprite atlas are compressed when the project is built and deployed. We can also adjust the Max Size value. Reducing the Max Size of a texture so that is smaller than the original asset will cause the asset to be scaled down and hence decreased in size. Obviously large textures require more memory and are slower to display so reducing the Max Size of a texture will reduce the memory burden and increase performance. Be warned, changing the compression and the max texture size can have a significant impact on the asset quality (and this will vary depending on the device that the project is deployed to). Reaching a state where project assets are optimized for performance but still retain high levels of quality is a careful balancing act. This often requires several patient iterations of tweak > build > deploy before reaching a final solution.

It’s also important to carefully inspect which assets are packed together. If done haphazardly, sprite packing can increase our overall memory usage. When an asset is needed in a scene, the entire sprite atlas will need to be loaded into memory to access the required asset. Pack assets together that will be used together in one or more scenes. For example, if we have two enemy classes, dinosaurs and robots, that are never used in the same scene, we’ll typically want to pack the dinosaur and robot assets into different atlases. Doing so will prevent loading both sets of assets when only one set is needed. When setting the Packing Tag on each assets, we’ll set PACKROBOT for all of the robot assets and PACKDINOSAUR for all of the dinosaur assets. This will results in 2 separate sprite atlases that can be unpacked independent of one another and only when needed.

Reduce Script Object References
In Unity, scripts and other objects are typically attached to GameObjects, and at some point during our game we may need to access those object using a GetComponent call like so:
GameObject.GetComponent().DoFancyThing();
However, GetComponent is an expensive call so use it as sparingly as possible. Whenever possible make a local variable that stores a reference to scripts and other objects attached to a GameObject. Do not repeatedly call GetComponent in an Update function.

Cut Down Superfluous Updates
In all software development, cutting down on superfluous code is important, but this is magnified in mobile game development where performance easily degrades. Carefully scrutinize the update loop and look for any redundant or unnecessary calls and remove them. One common culprit is unnecessary string calls or text mesh updates. For example, we might be tempted to update our game score in an update loop as follows:

This works, but it’s sloppy. Is the user score really changing at *each* iteration of the game loop? If not, then updating a text mesh 30-60 times a second is wasteful. The performance loss is tiny, but when our code is littered with these sort of issues, a handful of seemingly innocuous code fragments suddenly turn into legitimate performance problems. In our case, we can quickly add in a local variable that keeps track of the score, and only make an update to the text mesh when the score actually changes. The equality call is faster than updating the text mesh and creates a smaller performance hit when called within each iteration of the game loop.

Add an Empty Loading Scene
When a new scene is loaded, all of the assets from the previous scene are destroyed and eventually garbage collected. However, this process does not occur synchronously. We may in fact see a brief spike in memory usage as the previous scene’s assets are being unloaded and the new scene’s assets are simultaneously being loaded. In the worst cases, this memory spike may cause an out of memory error and application crash. One trick to help avoid this is to add an empty loading scene to ensure that the assets from scene A are completely unloaded before the assets from scene B are loaded. So instead of loading scenes in this order:
Scene 1 > Scene 2
Load scenes in this order:
Scene 1 > Empty Loading Scene > Scene 2
This allows the assets from Scene 1 to be unloaded while an asset-less scene is created. Similarly, the assets from Scene 2 will be loaded while an empty, asset-less scene is tossed from memory. This extra protection will help reduce fatal memory spikes.

Remove Debug Log Statements
Yes, debug log statements slow things down. Be sure to remove debug log statements before deploying a build to an actual device. To simplify things, we can always wrap debug log statements in our own function that we can turn on or off with a Global or Compiler flag.

There are dozens of other methods and tricks that can be used to increase mobile performance, but hopefully these tips will serve as a helpful introduction for beginning mobile developers. With a little luck, your mobile game will be ready to roll in the App Store and on Google Play in no time!

2D Mobile Game Performance in Unity Part 1

When we develop games for Android or iOS, at some point we must wrestle with the very real limitations imposed by mobile devices. Despite taking massive leaps forward, mobile device performance still lags behind that of console and desktop systems. It’s frustrating and disconcerting to discover that your shiny new mobile game waddles in at 20 fps or falls flat in the face of RAM or disk space limitations. How do we make our mobile game run at a decent frame rate? How do we ensure that our game doesn’t exceed a device’s memory limitations? How do we avoid making a prohibitively large installation footprint?

Although there is no single solution to any of this, I have put together a sort of mobile quickstart guide to help tackle some of these issues. Caveat emptor: I’m going to focus on 2D games using Unity simply because those are the sort of projects I’ve been working on the past couple of years. Nonetheless, many of the lessons here will apply to all types of game development. Neophyte mobile developers, use this guide as a starting point to address these common questions:
– How do I improve my mobile game’s frame rate?
– How do I optimize scenes to reduce memory usage (to avoid frame lag or even crashing)?
– How do I optimize my mobile build to reduce the installed size (which means faster download, user is less likely to uninstall the app when freeing space on their device, don’t have to deal with Google Play 50 MB APK limit, etc.)?

Set Target Frame Rate
Let’s start with the obvious. In Unity, we need to set an application target frame rate. The application target frame rate sets an upper-bound on frame rate. You may be surprised to discover that the default frame rate on some platforms is 30 fps. I like to make this call in the Start function of my game management object:
Application.targetFrameRate = 60; //set to desired maximum frame rate

Be sure to set a target frame rate

Load Game Objects when the Scene is Loaded
It’s easy to instantiate and destroy objects when needed, but creating and freeing resources requires expensive, time-consuming operations that can result in a drop in frame rate. Whenever possible, instantiate Players, Enemies, Objects, Projectiles, Particles, Backgrounds, Platforms, Power-ups, and other objects when the scene is loaded (whether this is done at design time or programmatically depends on the specific game architecture). If we create or destroy game objects while cycling through the main game loop, then we need to be prepared to deal with potential frame hiccups and lag.

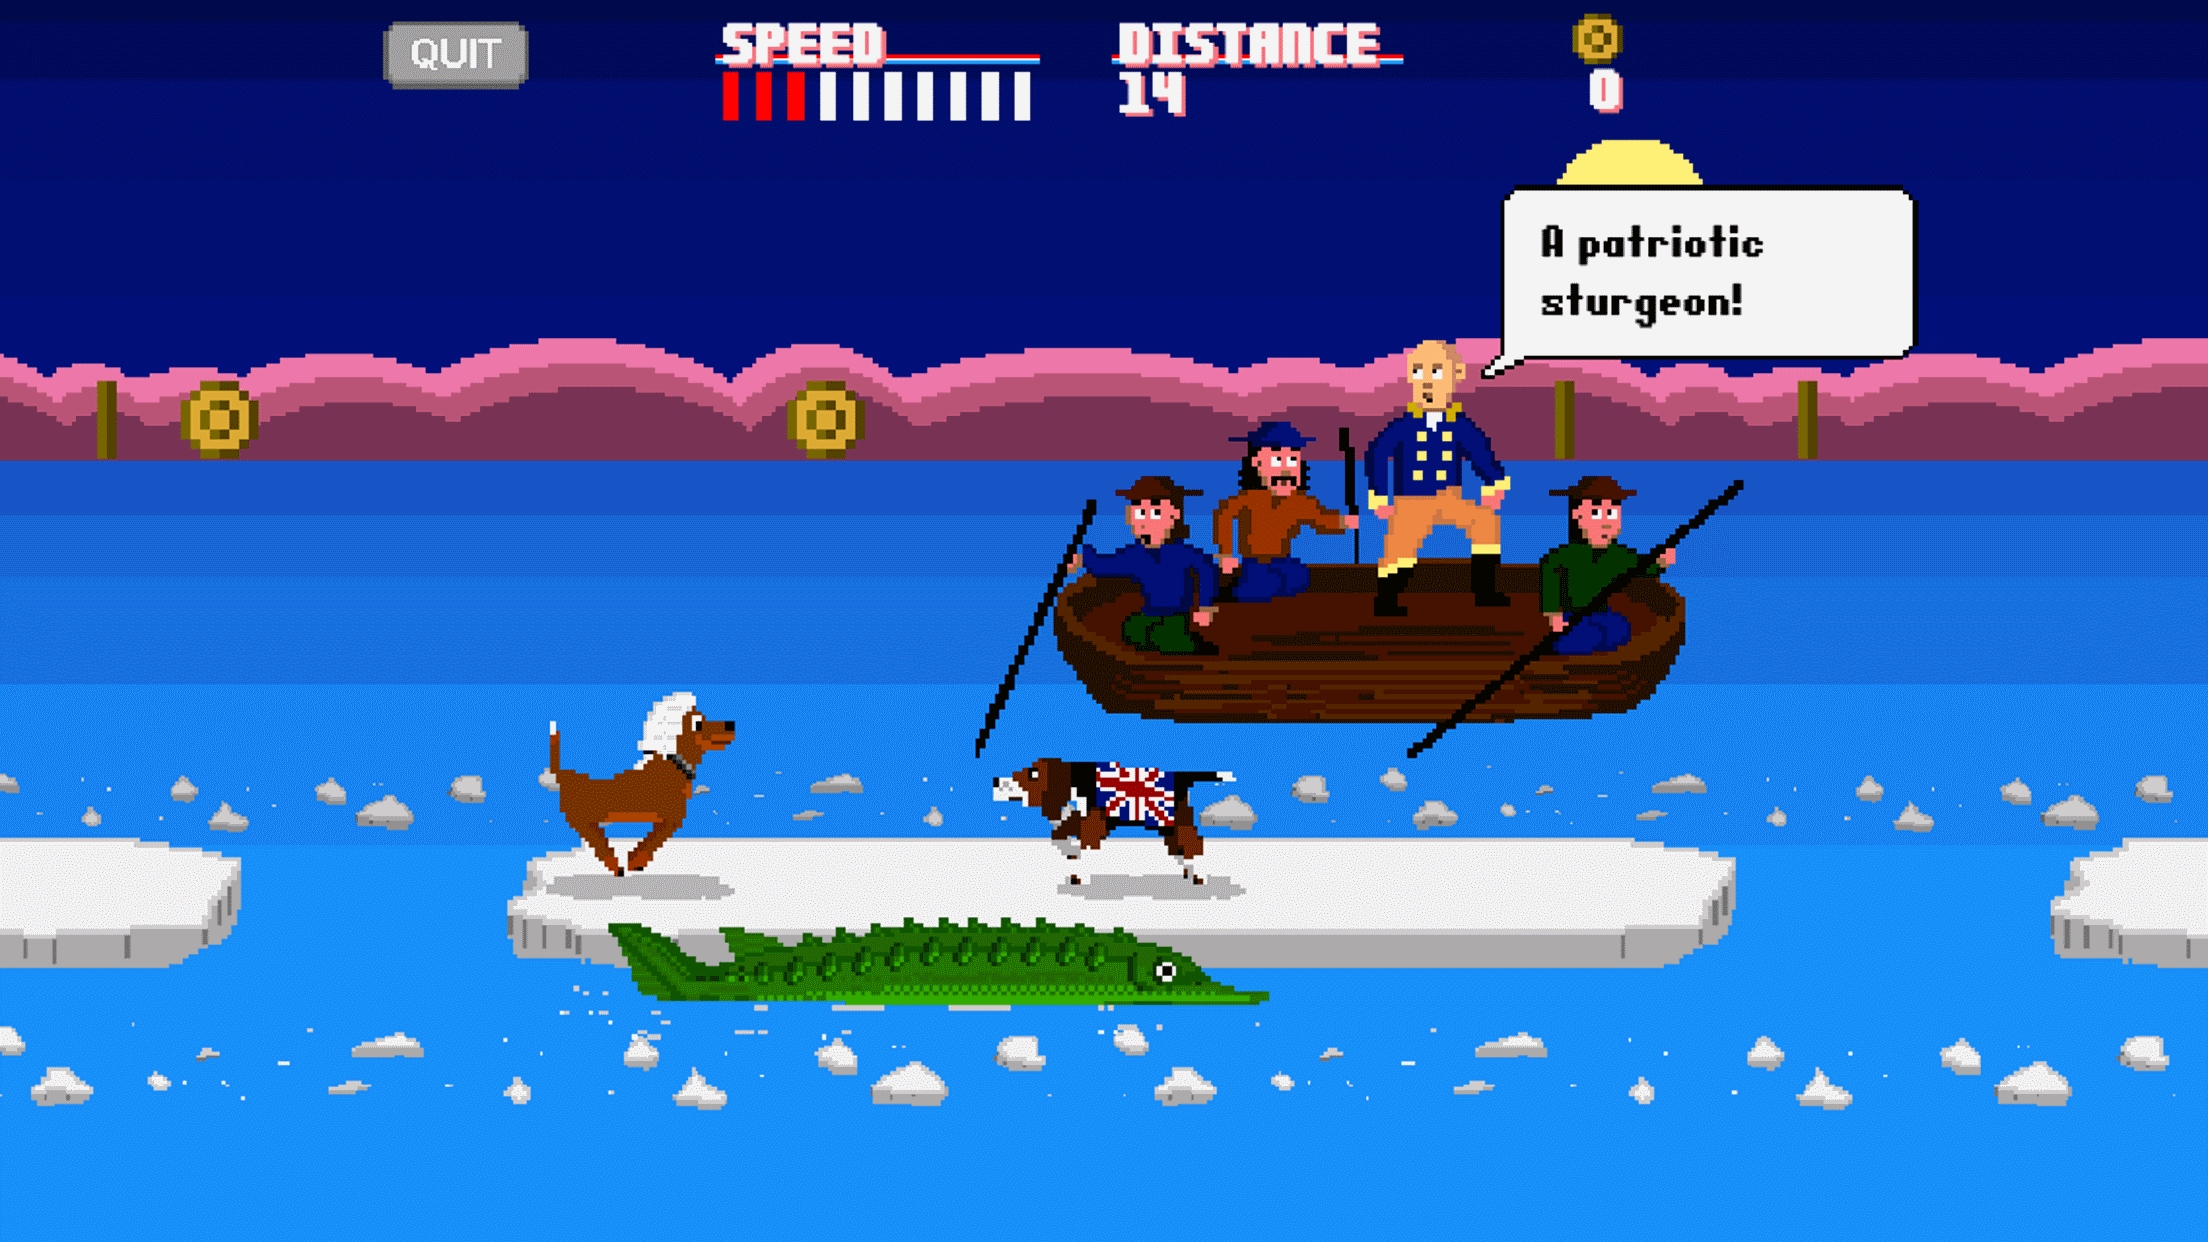
Washington’s Wig: all scene objects are created at design time.

Pool Objects
If you’re making games, you’re probably already familiar with the practice of using object pools. If not, now that we’re working in mobile, it’s a good time to start. As mentioned above, when possible, we create a majority of our game objects when the scene is created. However, we obviously don’t want to make 5,000 bullets for our shmup or 1,000 platforms for our endless runner. Instead, create an object pool for each unique component that would typically be created and destroyed during the lifetime of a game scene. An object pool is a data structure containing a collection of objects that are constantly recycled to avoid unnecessary allocation and deallocation. The internet is filled with resources explaining how to implement an object pool, so I’ll only give a brief example. Imagine that we are building a Contra-style platformer, and we want to pool the player’s bullets. Pooling bullets works kind of like this:
– pick a data structure to hold our bullet objects (I like to use Lists, but an Array or any sort of flexible storage data structure can be used)
– determine the maximum number of objects that will appear at a time during a scene, and populate the storage data structure with that many objects. If we determine that the maximum number of bullets that will ever appear on-screen at any given time is 20, we’ll create 20 bullet objects and populate our storage data structure with these objects (I like to add a little slop space above my estimate).
– create a flag that marks if a bullet is in use or not in use. In our example, we might make a BulletScript class, add a boolean inUse member, and attach it to a bullet object.
– write a management function that accesses the bullet pool to get a “new” bullet. In other words, if the Player presses the shoot button, we search through the bullet pool (we can user a linear search with a for or do-while loop or implement a more complex search algorithm based on the structure and layout of our storage data structure), find a bullet with inUse == false, and then update the state of the pooled bullet so that it is put into use in our game (turn on physics, turn on collision, make visible, set position, etc.).
– when a bullet would typically be destroyed (collides with enemy, goes off-screen), return it to the pool. Mark the bullet as inUse = false, and update its state so that it is not in use (turn off physics, turn off collision, make invisible, etc.)

Washington’s Wig: pool of 50 coins are created at design time and recycled throughout scene.

Load Prefabs from Resource Folder
Upfront loading and object pools work great in *some* cases, but are not always a plausible option. Is it worth loading 50 MB of images when there is no guarantee that the user will ever access the portion of the scene that displays those images? What if loading the entire set of scene assets causes an enormous memory burden and the application runs out of RAM and crashes? In real-world development, we’re often forced to load some scene assets only when needed. The obvious route in Unity is to store game “chunks” as prefabs, a game object complete with components and properties, that we can selectively create and destroy when needed. Instantiating a prefab is easy. Add a reference to your prefab in script, attach the prefab to the script by dragging it from your asset folder to the inspector, and use the Instantiate function to create an instance of the prefab:

public GameObject myPrefab;
GameObject myobject = (GameObject)Instantiate(myPrefab, new Vector3 (0, 0, 0), Quaternion.identity);

Destroying the prefab instance when it is no longer needed is equally simple using the Destroy function:
Destroy(myobject);

Once an instance of a prefab is created, any assets (textures, sounds, etc.) associated with the prefab will also be loaded into memory. However, destroying a prefab does not automatically unload the associated assets. Instead, these assets are unloaded when the scene is unloaded. This causes an obvious problem. Imagine we have 3 prefabs all of which contain a unique set of high resolution image assets. If our game flow permits only 1 prefab to be loaded at a time, we would hope that unloading a prefab would also free any associated assets from memory to reduce our memory burden (why have the assets from multiple prefabs loaded if only 1 prefab instance can ever be displayed at any given time?). When all instances of a prefab are unloaded, its associated assets will *still* occupy space in memory. On mobile devices where memory is at a premium, this is unacceptable. We can work around this, however, with a simple trick. Loading the prefab from the “Resources” folder and explicitly freeing resources will ensure that any underlying prefab assets are freed when the prefab instance is destroyed.

The Unity “Resources” folder is a special folder that allows us to load assets at runtime. Start by putting your prefabs here.

Now with a minor tweak to our code, we can load prefabs directly from the prefab folder rather than connecting them to a script in the inspector (note that I like to make a “prefab” subfolder in the “Resources” folder):
GameObject MyPrefabInstance;
GameObject MyPrefabFromRes = Resources.Load(“prefabs/myprefab”);
MyPrefabInstance = (GameObject)Instantiate(MyPrefabFromRes,new Vector3(0,0,0),Quaternion.identity);

When the prefab instance is no longer in use, we can destroy it AND free all associated assets by explicitly requesting that unused assets are unloaded and then manually calling the garbage collector:
Destroy(MyPrefabInstance);
Resources.UnloadUnusedAssets();
System.GC.Collect();

What we gain with this technique is simple yet powerful. We can now ensure that any associated prefab assets (textures, sounds, etc.) are ONLY loaded when an instance of the prefab is loaded. When the prefab is destroyed, the associated prefabs assets are unloaded from memory (assuming that they are not loaded on some other game object or prefab instance). This sort of asset juggling is paramount to creating mobile game scenes that need to load and unload a wide array of assets in response to a variety of user interactions.

Monster Heart Medic: players can choose from a variety of mutually exclusive tests that require massive, high resolution images to be loaded. Once a test is completed, these images are unloaded using the above technique.

In part 2, I’ll talk about Sprite Packing and coding methods that I use to increase mobile game performance.

Washington’s Wig Released on iOS and Android

3 years ago we competed on The Next Game Boss, an IGN/YouTube game development reality show. We ended up winning The Next Game Boss by creating Washington’s Wig, a quirky, irreverent runner set during George Washington’s historic crossing of the Delaware River. From the beginning Washington’s Wig *felt* like a mobile game, and naturally we intended to release it on both iOS and Android. However, with Fist Puncher and then Reagan Gorbachev in the pipeline, we never found the time to port, publish, and market another game. Until now, that is. We’re happy to announce that Washington’s Wig is now available for iOS and Android! Washington’s Wig features multiple play modes, a cast of cute dogs, and a little bit of U.S. history (but not that much so don’t worry). Washington’s Wig is completely free and can be downloaded from both the App Store and Google Play. Enjoy!

Fist Puncher Kickstarter Alpha Released

2012 has been fucking insane. I consider myself an articulate fellow, but I can’t really think of any other way to put it more elegantly or succinctly. Where do I start? Earlier this year Jake and I appeared on this IGN reality show called The Next Game Boss. Our main goal was to make some new friends and use the show as a tool to promote Fist Puncher, our retro-styled, local co-op brawler for Xbox and PC. But, hell, somehow we actually won the show with a game about a dog wearing a wig, and suddenly we had a lot of buzz and press surrounding our tiny, 2-man studio set in the mountains of Santa Cruz. So we took Fist Puncher to GDC where we demoed with GameSpy and all of these other kickass indie games from IGN’s Indie Open House program (Overgrowth, A Virus Named TOM, Super Comboman, and like 50 games from uber-prolific Cryptic Sea). The same week, the final episode of The Next Game Boss aired. The ball was rolling. We decided to dive into the world of crowdfunding, set up a Kickstarter campaign, and see if we could springboard off of our Game Boss success and get some funding for our throwback brawler Fist Puncher.

So we spent the good part of a month making ridiculous videos, sending out press releases, and doing everything in our power to reach our funding goal. And I’ll be damned, we reached our funding goal. That was 5 months ago. Since then my life has been tossed around, turned inside out, and then, just for good measure, shaken and stirred. I’ll spare everyone the gory details and just summarize the highlights. I was planning to marry my partner later this year, but instead she walked out on me. Yeah, that sucked. In a fit of screw-you-world retaliation I pulled an Office Space and walked out on my job of almost 10 years (two can play that game). I moved out of my place (and in the process rented it to heroin addicts that had to be evicted). I won’t lie – at times I’ve felt totally underwater and completely lost this year. Everything I had 6 months ago is 100% gone: relationship, job, home. All I’ve had left to cling to was this whole I’m-now-an-indie-videogame-developer thing. And for much of this process it’s been the only thing keeping me afloat.

So what about that game Fist Puncher? We MADE that game. Yup, we spent the greater part of half a year building the game that fans from all over the world so generously backed (2 games actually – we also spent about a month polishing and completing Washington’s Wig). When you’re developing a game 7 days a week you start to lose the ability to see the big picture. Am I getting anything done? Are we making any progress? I’ve had a few days now to step back from the development process and survey the end result of our crowdfunded work (some of this self-imposed as I attended IndieCade, some of this externally imposed as I had to deal with the whole heroin addict thing from above). To be blunt, I’m pretty happy. The game is by no means done yet (that’s why we’re calling it an Alpha) – we plan on spending the rest of the year fixing glitches, adding some more levels, cleaning up some of the rough edges, balancing the player progression, and getting feedback from our Kickstarter backers about how we can improve Fist Puncher. Nonetheless, we now have a game that boasts 14 playable characters, over 40 levels (including many new level concepts like a timed subway gas attack and a sidescrolling bike chase), a full level up and perk system, 99 unlockable card achievements, fully revamped bosses (fear Psycho Hans), a new map and level organization system, completely redone sound design and controller vibration feedback, collectible items, game statistics, Kickstarter enemies and NPCs, new in-game signage, and tons more. We’ve played the hell out of the game, and we’re both confident that it’s a damn fun experience.

We’re planning on a wide release at the end of the year. For now, the Fist Puncher Kickstarter can be purchased on Desura.
Desura Digital Distribution

Moving forward, we also want to work on improving the distribution of Fist Puncher. Making a great game is only half the battle – without marketing and distribution, you’re dead in the water. For starters, we’ve put Fist Puncher up on Steam Greenlight. If you like Fist Puncher and would like to see it get a wide release on Steam, then give us an upvote. We will be working on other avenues for distribution in the upcoming months, so stay tuned.

Thanks again to everyone who helped us get this far. It’s been a crazy journey, and my life has been turned upside down this year. I’m not really sure what comes next, but at least I’ll always be able to say that my brother and I made the first fighting game with a nude beach level, the first fighting game where you can throw cows in a slaughterhouse battle, and the first fighting game where you can bring a gun or a Taser to a wrestling tournament to save an orphanage. Yup, something for my epithet.

Anyway, if you want to hear us ramble on for a bit or if you want to see our scruffy mugs one more time, check out the YouTube update video. And, again, THANK YOU! And to every person that sent us a positive message or gave us props at GDC, PAX or wherever, I’m telling you now from the bottom of my heart that it meant more to me than you can ever imagine.

-MattKain

Kids Playing Games at California Extreme 2012

Our favorite part of California Extreme was playing with and getting feedback from the many gamers that stopped to try out Fist Puncher and Washington’s Wig. Some of the best and silliest thoughts came from the unfiltered minds of little kids.

Thanks again to everyone that took time to play our games. Even bigger thanks to our Kickstarter backers. Events like this would not be possible without your generous funding!

Post California Extreme Update

We’re back from California Extreme, and without a doubt it was the best CAX we’ve ever attended (although demoing for 14 hours on Saturday was physically brutal). Not as much Solar Fox or Bump ‘n’ Jump as usual, but hanging out and playing our games with countless attendees was priceless. Thanks to everyone who stopped by and checked out Fist Puncher and Washington’s Wig. We received an overwhelming amount of positive feedback, and some great suggestions (yes, there will be a Grave Digger unlockable card). Don’t forget that Washington’s Wig is available in the Xbox LIVE Marketplace and Fist Puncher will be out later this year. We also want to give a shout out to some of our many great friends that attended including: Cryptic Sea, Interabang, MagicalTimeBean,Bean, Design 3, Press Pause Radio, and Gamer Talk TV. Great to see all of you! And to our new friends, Hello The Future, Gayme Bar, Pixel Sunrise, and many others, it was a pleasure to meet you all, and we hope to hear from you in the future!

Oh, and special thanks to Ethan and Jack for all of their testing help. Check out your credits here.

2 Days Until California Extreme

California Extreme 2012 is fast approaching. We got our arcade marquees back from the printers, and we’ll be setting up tomorrow. There’s still plenty of time to get tickets and attend one of the coolest arcade shows on the planet. And, of course, you can join Team2Bit in a 4-player game of Fist Puncher or challenge us in the vs. mode on Washington’s Wig. Who knows, you might even see a celebrity or two.

Team2Bit at California Extreme 2012

We’re excited to announce that we will be part of the videogame exhibiton at this weekend’s California Extreme (CAX), a massive showcase of classic arcade and pinball machines. We’ve been attending CAX for years so we’re ecstatic to actually be a part of the show. Fist Puncher and Washington’s Wig will be on display for all to play right in the middle of the likes of Pac-Man, Q-Bert, Pengo, and all of the greatest classic arcade games. CAX takes place this weekend at the Hyatt Regency in Santa Clara, California. More information about times and tickets can be found on the California Extreme website.

Oh, and for anyone interested in wild, sometimes-disturbing pinball cabinet art, CAX is definitely the place to be.

Washington’s Wig is now available on Xbox

Washington’s Wig, the grand prize winning game from season one of IGN’s The Next Game Boss reality show, is now available for Xbox in the Indie Games marketplace. Play as George Washington’s loyal canine, Dogsworth McFreedom, as he tries to return his master’s lost wig in this factually disputed account of one the most audacious surprise attacks in military history. Washington’s Wig contains multiple play modes including an endless runner mode, a level-based arcade mode, a time trial mode, and a 2-player simultaneous race mode. Featuring English dogs in canoes, a patriotic sturgeon, bass thumping hot beats, and crossover characters from two of this summer’s hottest indie games, Escape Goat and A Virus Named TOM, Washington’s Wig is a joyous return to the simplicity and challenge of old-school gameplay. Washington’s Wig is available in the Xbox Marketplace for 80 Microsoft Points ($1). Check out the official Xbox trailer below: